You might need a VPN server for many different reasons. Maybe you want to appear from a different country, Or maybe you want to unblock some website. I am a poor person, I need VPN because it's cheaper than travelling to a country and pretending to be there (pun intended).
A VPN is a very simple piece of application. Simply put: once you connect to a VPN server from your computer, It assumes thats computer's public IP address. So all your traffic will go through that server before reaching the web. As simple as it sounds, Setting up a VPN server in a linux computer usually requires following a very long process step by step. That includes installing and configuring the VPN server application, Configuring firewall, Enabling traffic forwarding and many micro steps. That process always felt repetitive and un-interesting to me. So when I came to know about Algo, I found out I was not the only one. Algo takes away the pain of repeating the same process and makes configuring VPN easy AF.
Algo is available in the github repository: https://github.com/trailofbits/algo
To start the process I would assume, you have a computer that runs at least Ubuntu 16.04 , But I only have Mac, so I created a folder in mac , navigated to that folder from command line and started up a Ubuntu Docker container in privileged mode with the current folder mounted in /opt/app using the command below, but if you are already on linux, you really don't need it:
docker run --rm --privileged -it -v `pwd`:/opt/app ubuntu:16.04 /bin/bashAlgo can run directly on mac (Refer to their documentation, I wanted something to easily clean up so I used a disposable docker container) .If you are running docker for the very first time, this will take time. If you are new to Docker and Speak Bangla. You can check out my blog on Docker from the link below if you are interested:
https://blog.anam.co/docker-in-bangla/
I used digitalOcean for the VPN server. You don't need to create a droplet yourself, Algo will create it for you. You just need to create an API key. It's very easy to create from the API section of the Digital Ocean control panel.
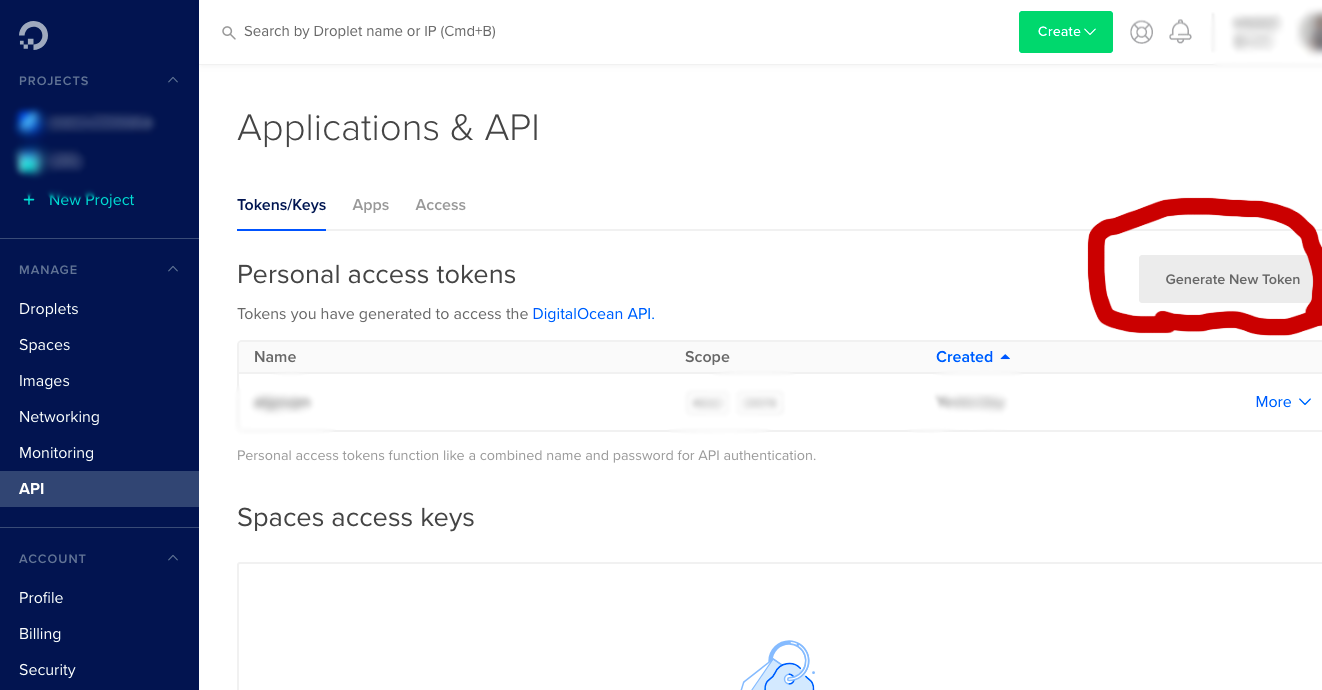
Note the API key and store it immediately, it does not show up for the second time without regenerating. We will need it soon.
Back to the original topic: Algo. I started by installing the dependencies. The below command installed them all at once:
apt-get update && apt-get install \
    git \
    build-essential \
    libssl-dev \
    libffi-dev \
    python-dev \
    python-pip \
    python-setuptools \
    python-virtualenv -y
If you are on linux computer, you obviously need root permission in order to install all these.
Once every dependency is installed, I navigated to /opt/app and cloned the Algo repository there:
git clone https://github.com/trailofbits/algo.gitThen in the algo directory, installed all it's python dependencies with the below command:
python -m virtualenv --python=`which python2` env &&
    source env/bin/activate &&
    python -m pip install -U pip &&
    python -m pip install -r requirements.txt
The command failed once in a linux computer because Locale was not set properly, You might need to set up locale and run it again.
Once that command ended, I opened the config.cfg file. (if you are using docker like me, you should find it in algo/config.cfg on the folder you started from (Mounted folder).
Edited the config.cfg and Added all the users there like below:
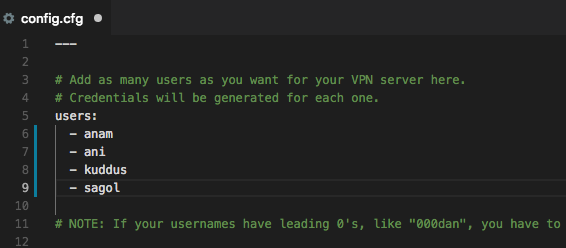
Once the list is done, I got back to the terminal (in my case I got back to the terminal session running inside the container) and ran the algo executable :
./algoIf everything is okay, Algo will show a list of supported cloud provider, I selected Digital Ocean (1) from here:
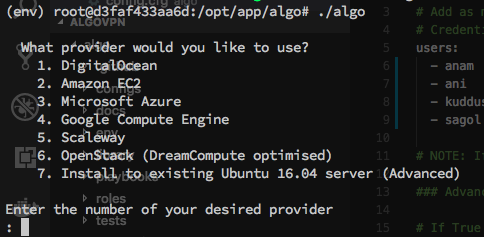
It will ask for the API key, I pasted the API key there (will not produce any output like password). Once that was done, It asked for some more information like region, Droplet name, and preferences and then it will run all the steps one by one.
Once all the process is done, It will show a screen with some very important information. I had to carefully note the information on the screen. The information was something like (password and server IP blurred):
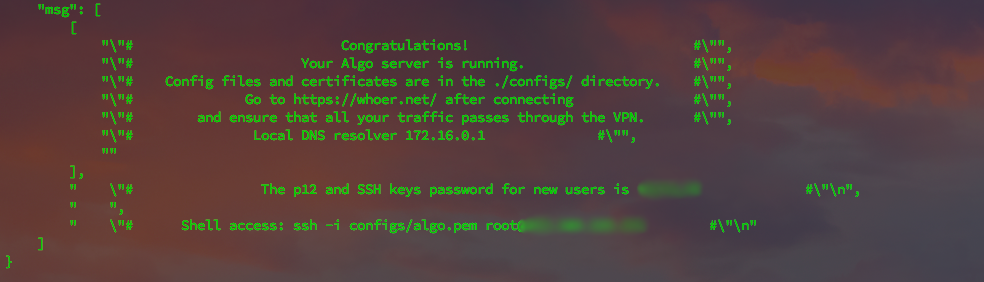
Congratulations! Now you have your own VPN up and running. I could safely close the docker container now.
The password needed to be carefully kept, as it was required for all the users. The user configurations however, were all in the algo/<server_ip> folder(you can delete everything except for this folder now, they are no longer required):
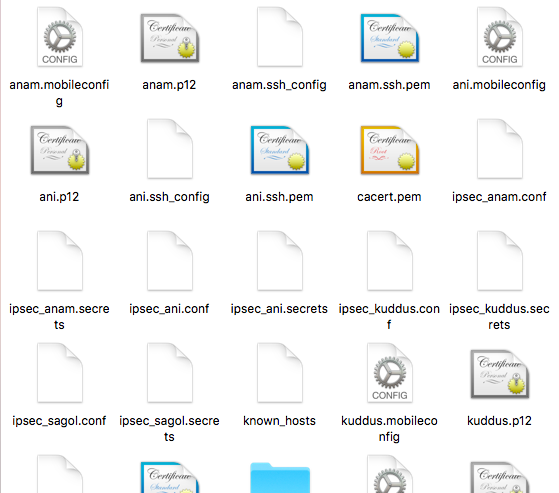
For mac, It's the .mobileconfig file. Mac does not require any extra VPN client. Double clicking it will go through the process of installing the VPN configuration (will ask for the password that was generated). And once done, can be connected from Network settings.
Guide on how to configure other clients are in the Algo Documentation
And this is how I created my very own VPN server. I did not actually do it in ten minutes (The internet was slow). But did not have to spend ten minute on actively doing it.
Hope you liked the post. Let me know in the comments about any mistakes / improvements you want to suggest or what you want to see next in my blog.